本教程使用photoshop 9.0。
原圖:

1、打開原圖,把背景圖層複製兩層;
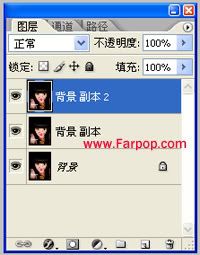
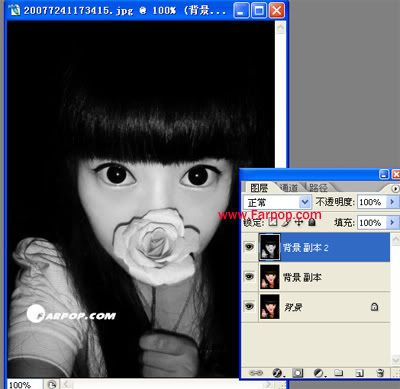
2、把最上面的圖層去色;
3、點擊圖層面板的“添加圖層面板”;
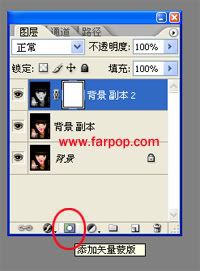
前背景色為黑色,使用畫筆工具調整適合的大小,在花朵上塗抹;


4、選擇圖層面板第二個圖層,圖像-調整-色相/飽和度(可按照自己的喜好調整顏色);
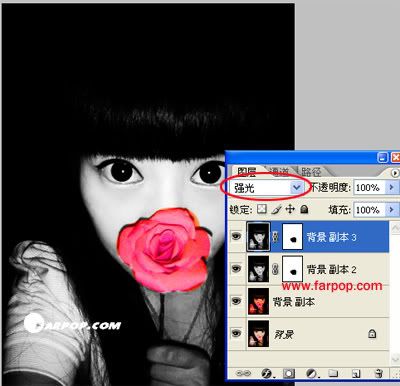
5、複製一層黑白圖層(即最上面的圖層),模式改為柔光;

6、好了,給MM上點腮紅吧;
畫筆工具-基本畫筆-柔邊機械65,我選擇粉紅色,按照需要調整部透明度;
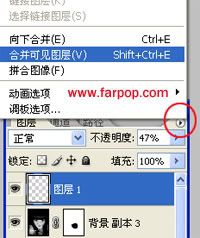
7、點擊圖層面板的右上角-合併可見圖層;
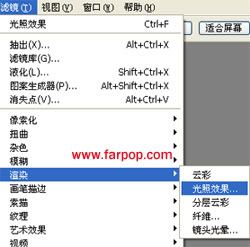
8、濾鏡-渲染-光照效果;

9、效果:

選擇橙色的效果:

出處:非主流中文網
看不到圖請PM我,我會盡快做處理..
[
本帖最後由 ANNE0509 於 2007-7-27 09:43 編輯 ]

