本教程使用photoshop9.0
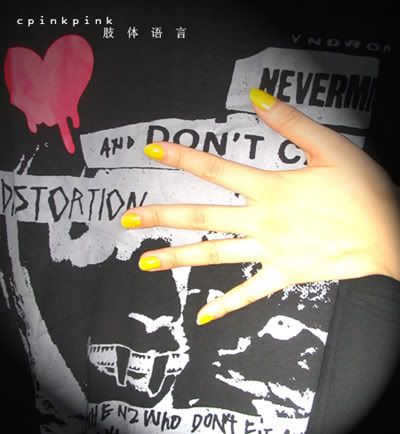
原圖:
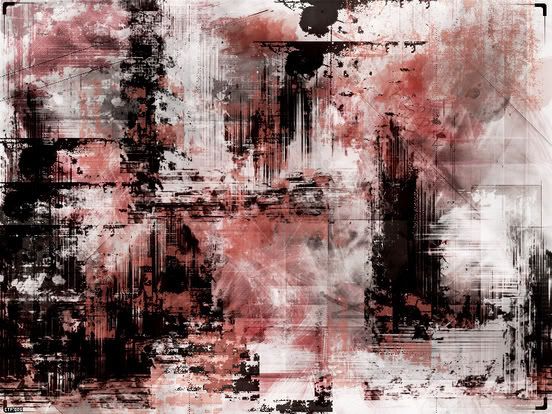
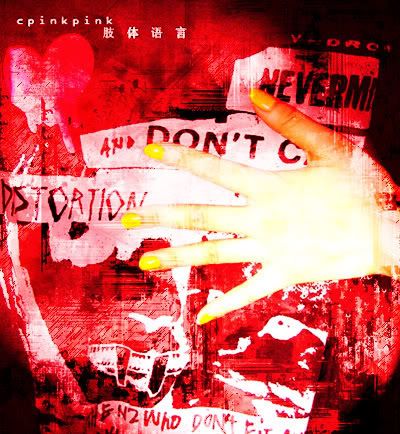
素材圖
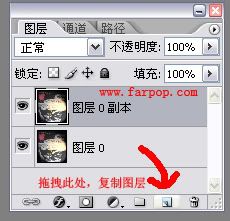
1.首先打開需要ps的圖片,在圖層面板處按兩下圖片解鎖,複製原圖片;
2.前景色設置紅色,(注:你的前景色設置不同的顏色,做出來的效果都不同哦!)
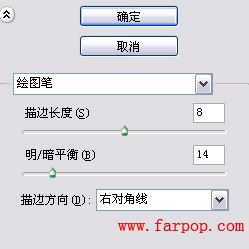
在工具列處,濾鏡-素描-繪畫筆,設置如圖:
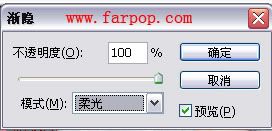
3.編輯-漸隱繪畫筆,模式選擇柔光,透明度不變;
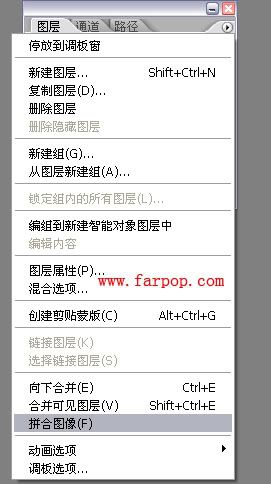
4.在圖層面板,點擊小三角-拼合圖像;在圖層面板處按兩下圖片再次解鎖;
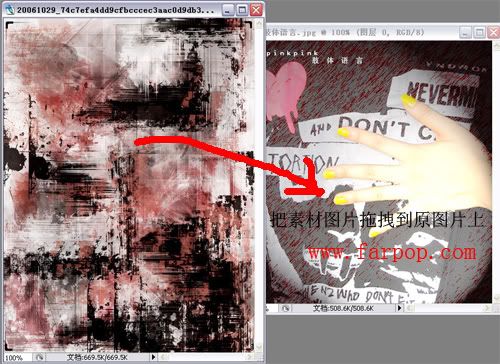
5.打開素材圖片,拖拽到原圖片上;
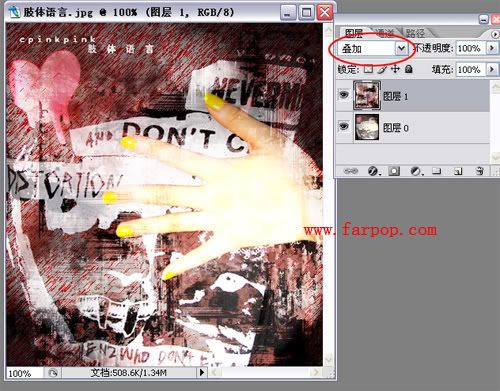
圖層模式選擇疊加;
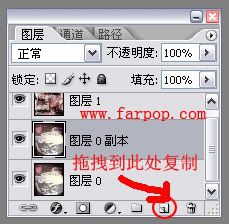
6.在圖層面板上選擇原圖片(我這裡是圖層0),拖拽到創建新圖層處,複製圖層(複製出圖層0副本);
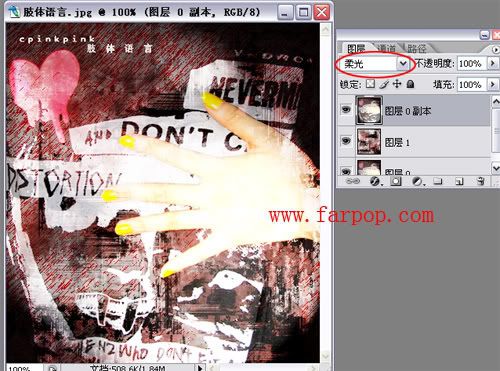
7.把圖層0副本移到最上面,圖層模式設置柔光;
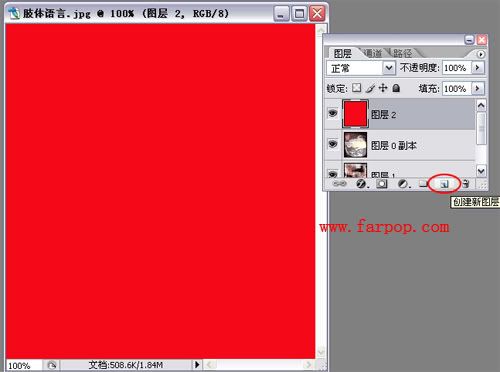
8.在圖層面板點擊創建新圖層;在工具列上,編輯-填充,為紅色;
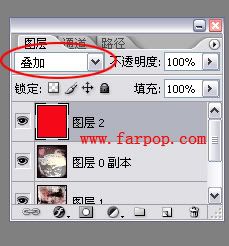
9.圖層模式選擇疊加;
效果:
出處:非主流中文網
如有圖片無法顯示,請pm我,我盡快做處理...
[
本帖最後由 ANNE0509 於 2007-7-27 10:19 編輯 ]

